

Leveraging Technical Analysis in Forex Trading Strategies
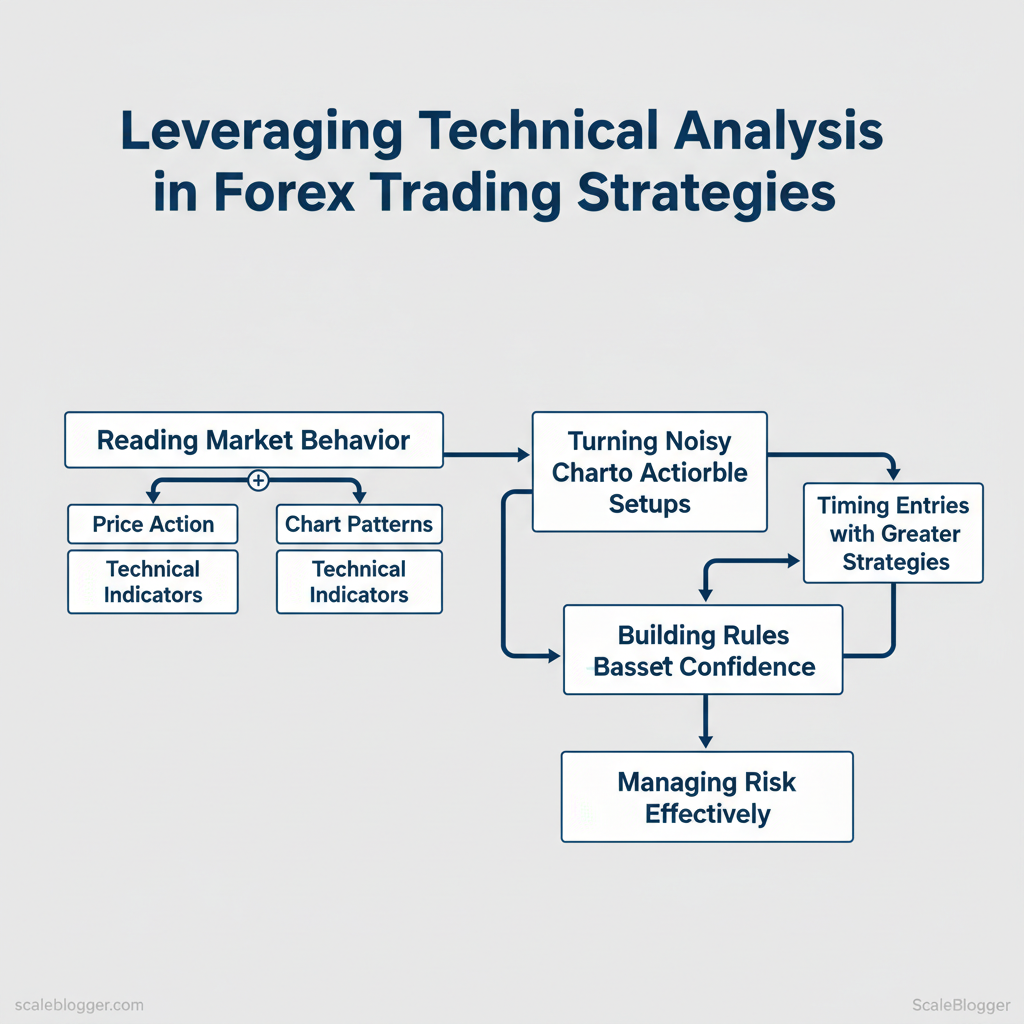
Technical analysis is about reading market behaviour through price action, patterns, and indicators to make disciplined trading decisions. It matters because it turns noisy charts into actionable setups, helping you manage risk and time entries with greater confidence.
- What technical indicators tell you and when to trust them
- Building a rules-based strategy that fits
timeframeand capital - Combining price action with indicators for clearer trade signals
- Practical risk management tied to support, resistance, and volatility
- How RandFX resources help compare brokers and tools for execution
> Consistency wins: traders who follow rules, not hunches, improve repeatability.
RandFX offers curated tools to compare brokers and execution features before you allocate capital — start by visiting the broker comparison to match spreads, platforms, and regulation. Try XM with a demo or live account (clicks.pipaffiliates.com) or consider HFM for tight spreads and execution. FBS is another option worth exploring.
Next, we’ll break down indicator families, show entry and exit sequences, and outline a step-by-step method to convert charts into a tradable plan. Open an account with Exness (recommended broker) to practice these methods on a live platform.
Table of Contents
- H2: Foundations of Technical Analysis for Forex
- Section Content
- H2: Building a Technical Analysis Toolkit
- H2: Strategy Examples — From Concept to Execution
- H2: Risk Management and Trade Execution
- H2: Backtesting, Optimization and Performance Tracking
- Putting It All Together — Live Trade Workflow and Ongoing Improvements
- Conclusion
H2: Foundations of Technical Analysis for Forex
Technical analysis begins with price as the primary information carrier — everything you need to read is in how price moves, reacts to structure, and compresses into patterns over time. Traders combine price action with indicators and multiple timeframes to form a working map of likely short-term moves and higher-probability trade entries. Practically, that means watching how candles form around key levels, confirming with volume or momentum indicators, and aligning trade bias across the chart stack.
H3: Key Concepts and Chart Types
- Price action vs indicators: Price action interprets raw market behaviour — swings, wicks, rejections — while indicators (e.g.,
RSI,EMA,MACD) are derived mathematical views that help quantify momentum, trend and volatility. Use indicators as confirmation, not the sole trigger. - Multiple timeframes: Inspect at least three frames: a higher timeframe for trend, a mid for structure, and a lower for execution. This reduces false signals and aligns stop-placement with meaningful structure.
- Candlestick patterns and sentiment: Candles show immediate buyer/seller battles — long wicks signal rejection, engulfing patterns show shifts in control. Pattern context matters; a bullish engulf in a downtrend may only mark a retracement.
Common chart types and recommended use-cases for forex traders
Common chart types and recommended use-cases for forex traders
| Chart Type | Best Use Case | Strengths | Limitations |
|---|---|---|---|
| Line Chart | Trend over long periods | Clear trend visualization, simple | Loses intra-bar detail |
| Bar Chart | Balanced price view | Shows open/high/low/close per bar |
Less intuitive than candles |
| Candlestick Chart | Short-term entry/exit | Visual sentiment, pattern-rich preferred | Can be noisy on low-liquidity pairs |
| Heikin-Ashi | Smoother trend identification | Filters noise, highlights trend | Lags price, not for precise entries |
| Renko | Volatility/price movement focus | Removes time, focuses on moves | No time information, slower on small moves |
H3: Market Structure, Liquidity and Sessions
- Session overlaps: London/New York overlap is where most daily liquidity concentrates, widening spreads and improving execution — ideal for breakout and momentum plays. Tokyo/London gaps often show quieter, range-bound behaviour.
- Liquidity effects on indicators: Indicators calibrated during high-liquidity sessions perform more consistently. During thin sessions,
ATRandVWAPreadings can understate true risk; widen stops or reduce position size. - Adjusting strategies by session: Breakout strategies thrive in London/New York overlap; mean-reversion and scalping often suit Asian hours. Backtest each strategy segmented by session to avoid overfitting.
Practical tip: keep a session-aware checklist and label trades by session during journaling to spot performance differentials. If you need to compare brokers for session execution and spreads, you can Compare forex brokers to find options that match your trading hours and execution needs.
Understanding these foundations helps you build rules that are robust across the 24-hour FX market and keeps execution predictable when conditions change. When applied consistently, the approach makes trade decisions clearer and reduces second-guessing.
H2: Building a Technical Analysis Toolkit
Start by thinking of your toolkit as a small, well-balanced set of instruments that each answer a specific question about price: is the trend intact, how volatile is the market, and where are likely reversal zones? Pick indicators that complement—not duplicate—each other, and default to conservative settings that suit forex’s typically higher liquidity and lower intraday noise.
H3: Indicators, Overlays and Oscillators — When to Use What
Quick-reference matrix showing indicators, what they measure, recommended settings and best-use scenarios
| Indicator | Measures | Recommended Settings | Best For |
|---|---|---|---|
| Simple Moving Average (SMA) | Trend direction, support/resistance | SMA(50), SMA(200) | Identifying long-term trend, crossover filters |
| Exponential Moving Average (EMA) | Recent-price-weighted trend | EMA(9), EMA(21) | Shorter-term entries, dynamic stop guidance |
| RSI | Momentum, overbought/oversold | RSI(14); levels 70/30 | Spotting mean-reversion setups, divergence |
| MACD | Trend strength & momentum shifts | MACD(12,26,9) | Entry confirmation on trend changes |
| ATR | Volatility, stop distance | ATR(14); use 1.5–3× ATR for stops | Volatility-adjusted stops and position sizing |
Market data shows forex tends to respond well to slightly faster EMAs for entries while SMAs keep you aligned with the larger bias. Avoid piling on multiple moving averages or many momentum oscillators; redundancy produces false confidence rather than clarity.
H3: Constructing Indicator Combinations
- Start simple: Pair one trend filter + one momentum oscillator + ATR for stops. Example:
SMA(200)bias +EMA(21)timing +RSI(14)entry +ATR(14)stop. - Avoid redundancy: Don’t use RSI and MACD as primary signals together; they both measure momentum—pick the one that matches your timeframe.
- Define clear rules: Entry = price above
SMA(200)ANDEMA(21)crossover ANDRSI(14)> 50. Exit = opposite signal or price hits3× ATRstop. - Timeframe alignment: Confirm direction on a higher timeframe (daily) and execute on a lower one (H4/H1). Multi-timeframe confirmation reduces noise-driven whipsaws.
- Backtest conservatively: Test combinations on out-of-sample data; be wary of curve-fitting when too many parameters are tuned.
- Use volatility-based stops: Calculate stop distance with
ATR(14)and size positions so risk per trade is constant.
Practical tip: if you’re comparing execution or testing live, try XM with a demo or live account for practice and consider HFM for tight spreads and execution when you go live. For research on brokers and spreads, you can also Compare forex brokers to find the best fit.
A compact, well-tested toolkit speeds decision-making and prevents analysis paralysis. When your indicators each have a distinct role—trend, momentum, volatility—you trade with clearer rules and greater confidence.
H2: Strategy Examples — From Concept to Execution
Breakouts work when you can clearly define the squeeze, confirm momentum, size risk to volatility, and execute with discipline. Below are two practical blueprints — one focused on structured breakout trades and another showing when to prefer trend-following vs mean-reversion and how to combine signals for cleaner entries and exits.
H3: Breakout Strategy Blueprint
Start by identifying a consolidation pattern (range, flag, or pennant) that has tightened price action for several candles. Define the breakout threshold as the highest close of the consolidation for long setups, and the lowest close for shorts. Use ATR as your volatility gauge and volume or candle-size expansion for confirmation.
- Identify consolidation: mark swing high/low and measure width.
- Set breakout threshold: take the close beyond consolidation high/low.
- Confirm with volume/ATR: require volume expansion or
close - open > 0.5 ATR. - Risk sizing with ATR: set stop at
1.25 ATRbelow entry for longs (reverse for shorts). - Targets and scaling: initial target = 2 risk; trail stop using 0.75 ATR after first target hit.
- Execution notes: use limit to reduce slippage in thin FX crosses; be wary around major news.
Practical tips: use a higher time frame to validate the directional bias, and avoid breakouts that happen right at market open or within 30 minutes of major economic prints.
Example trade log with entry, stop, target and R:R to illustrate outcome scenarios
| Example Trade | Entry Price | Stop Loss | Target | R:R |
|---|---|---|---|---|
| Trade 1 (EUR/USD) | 1.0850 | 1.0820 | 1.0890 | 3:1 |
| Trade 2 (GBP/USD) | 1.2550 | 1.2510 | 1.2610 | 2:1 |
| Trade 3 (USD/JPY) | 147.20 | 146.80 | 147.80 | 2:1 |
| Trade 4 (AUD/USD) | 0.6420 | 0.6390 | 0.6460 | 2:1 |
| Trade 5 (EUR/GBP) | 0.8630 | 0.8600 | 0.8670 | 2:1 |
You can compare execution and spreads when choosing a broker — for practical evaluation, see this client tool to Compare forex brokers (https://randfx.co.za/brokers/broker-comparison/). If you want to try live or demo execution quickly, try XM with a demo or live account (https://clicks.pipaffiliates.com/c?c=487256&l=en&p=1) or consider HFM for tight spreads and execution (https://www.hfm.com/int/en/?refid=192941).
H3: Trend-Following and Mean-Reversion Examples
Choose trend-following when price has clear higher highs/lows (or lower lows/highs) on your primary timeframe; choose mean-reversion in horizontal markets or after sharp, fast moves that overshoot intrinsic levels. Combine trend confirmation with momentum indicators like RSI or MACD:
- Trend confirmation: price above a rising 50 EMA + MACD histogram > 0.
- Momentum filter: RSI between 50–70 to avoid overbought extremes.
- Mean-reversion entry: look for RSI < 30 or a wick rejection at a known support level on a consolidation timeframe.
Exit rules protect gains: use a layered exit — take 50% at the initial target (2:1), move stop to breakeven, then trail the remainder with 0.75 * ATR or a rising EMA. Tight exits after momentum divergence reduce reversals; looser trailing for persistent trends captures larger runs. Understanding and practicing these combos speeds up decision-making and improves consistency. This approach reduces guesswork and lets traders focus on execution quality rather than constant second-guessing.
H2: Risk Management and Trade Execution
Risk control starts before you press “buy.” Good execution marries a disciplined position-sizing framework with order-type choices that limit slippage and protect capital. Treat position sizing, stop placement and execution rules as a single system: each trade’s size should be a mathematical function of account risk, stop distance and the market environment.
H3: Position Sizing, Stop Losses and Risk per Trade
Use a fixed percentage of equity per trade — commonly 0.5–2% — to keep drawdowns manageable and emotional reactions muted. Calculate lot size from stop distance in pips using the simple formula Lot size (standard lots) = Risk Amount / (Stop Distance Pip Value). For most major pairs the pip value for a 1.00 standard lot is approximately $10 (adjust for quote currency). The Average True Range (ATR) is useful for dynamic stops: set a stop at 1.5–2×ATR to accommodate current volatility instead of an arbitrary pip distance.
- Practical rules:
- Fixed risk % — pick one and stick to it (e.g.,
1%). - Stop from structure — place stops beyond support/resistance or
1.5×ATR. - Scale position to stop — never increase position size without increasing allowable risk.
Position sizing worksheet demonstrating account size, risk %, stop distance, and resulting lot size
| Account Size | Risk % | Risk Amount | Stop Distance (pips) | Lot Size (calculated) |
|---|---|---|---|---|
| Example A: $10,000 | 1% | $100 | 50 | 0.20 |
| Example B: $5,000 | 0.5% | $25 | 25 | 0.10 |
| Example C: $50,000 | 2% | $1,000 | 100 | 1.00 |
| Example D: $2,000 | 1% | $20 | 20 | 0.10 |
| Example E: $20,000 | 0.75% | $150 | 75 | 0.20 |
H3: Order Types, Slippage and Execution Best Practices
Choose orders to match intent. Use limit orders to secure a price if you’re willing to wait; use market orders when immediacy matters (news events, fast momentum). Protect against slippage with these tactics:
- Use
limitorstop-limitentries for planned setups to avoid wide fills. - For entries during high volatility, prefer smaller size or
iceberg/scaled entries to reduce market impact. - Monitor average slippage with your broker and demand transparent fills.
Broker choice affects spreads, latency and re-quotes. Compare execution quality across providers — for example, use our tool to Compare forex brokers before opening an account. If you want a broker known for tight spreads and strong execution, consider HFM for tight spreads and execution (https://www.hfm.com/int/en/?refid=192941) or try XM with a demo or live account to test fills (https://clicks.pipaffiliates.com/c?c=487256&l=en&p=1). Small differences in execution multiply over many trades, so measure slippage as a routine performance metric.
Understanding and operationalizing these rules makes trade outcomes more predictable and frees you to focus on strategy rather than on avoidable execution losses. When you implement consistent sizing, volatility-aware stops and discipline around order types, trading becomes a repeatable process rather than a string of one-off guesses.
H2: Backtesting, Optimization and Performance Tracking
Backtesting is where strategy ideas meet reality: you either validate an edge or expose hidden weaknesses. Start by treating backtests as experiments, not proof. Use long, clean datasets across multiple sessions, keep rules deliberately simple to avoid curve-fitting, and always separate the data you use to tune parameters from the data you use to evaluate final performance.
H3: Backtesting Process and Avoiding Overfitting
A disciplined backtesting workflow prevents false confidence and preserves robustness.- Use long, clean datasets — include multiple market regimes, at least several years of tick or minute data for intraday strategies.
- Keep rules simple — limit free parameters; simpler entry/exit rules reduce the surface area for curve-fitting.
- Out-of-sample testing — reserve a contiguous block of data (or use time-based splits) that is never touched during optimization.
- Walk-forward and Monte Carlo — stress-test parameter stability and order-flow randomness to see how performance disperses.
- Transaction costs and slippage — always model realistic spreads, commissions, and execution latency.
- Collect raw historical data.
- Clean and normalise (remove bad ticks, adjust for corporate events).
- Run in-sample optimisations on a training window.
- Validate on out-of-sample and walk-forward segments.
- Final check with paper trading or demo execution.
Example: run a moving-average crossover optimisation on 2012–2018 (in-sample), validate 2019–2021 (out-of-sample), then walk-forward test across rolling 12-month windows.
Backtesting methods (manual, script-based, platform backtester) highlighting pros, cons and recommended use-cases
| Method | Pros | Cons | Best For |
|---|---|---|---|
| Manual Backtesting (Spreadsheet) | Low cost; full control | Time-consuming; human error | Strategy concept validation |
| Platform Backtester (e.g., MT4/5) | Fast runs; broker-like conditions | Limited flexibility; platform quirks | Retail traders, quick checks |
| Strategy Tester with Walk-Forward | Parameter robustness testing; automated | More complex setup | Serious optimisation, professional use |
| Third-party Backtesting Tools | Advanced metrics; visual analytics | Subscription cost | Research-heavy workflows |
| Paper Trading / Demo | Real-time execution testing | No real-money behaviour | Final validation before live |
H3: Performance Metrics and Journaling
Metrics tell you how a strategy behaves; journals tell you why it behaved that way.- Expectancy over win rate — expectancies capture average return per unit risk; a 40% win rate can still be profitable if winners are larger.
- Sharpe, Sortino, max drawdown — track risk-adjusted returns and capital preservation.
- Trade-level logging — record entry, exit, size, slippage, and rationale.
- Behavioral notes — annotate emotional state, rule deviations, and market anomalies.
- Monthly review checklist — check edge persistence, parameter drift, execution deviations, and update position-sizing rules.
Consider using Randfx’s trading strategy development services and courses to formalise a backtesting routine and translate robust results into live plans. Try XM with a demo or live account for realistic market replay, and consider HFM for tight spreads and execution when you move to live trading.
Keeping tests reproducible and your journal honest speeds the transition from a promising backtest to a live, repeatable trading edge. When implemented correctly, this approach frees you to iterate faster while reducing the chance of costly surprises.
Putting It All Together — Live Trade Workflow and Ongoing Improvements
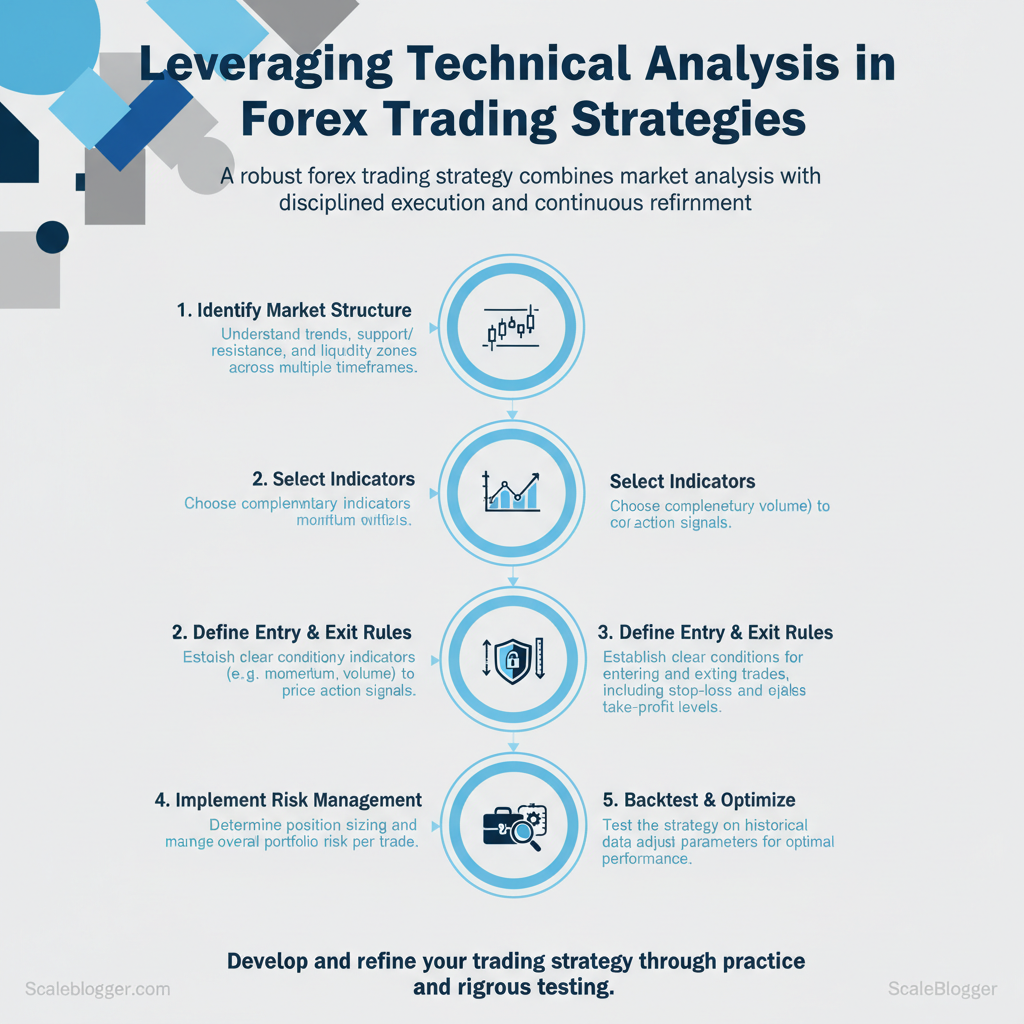
Start live trading with a compact, repeatable workflow that turns analysis into disciplined execution and continuous improvement. The practical approach is a top-down scan, confirm risk and trade rules, execute with clear intent, then record outcomes for monthly refinement. Below are concrete daily steps and a monthly plan you can adopt immediately.
Daily Workflow and Pre-Trade Checklist
- Perform a top-down analysis: check the daily trend, confirm hourly structure, then find entries on a 15m setup.
- Set alerts and orders before you enter:
stop-loss,take-profit, position sizing, and a pre-entry condition (e.g., candle close, momentum bar). - Confirm risk: never risk more than your preset percentage of account equity, and verify available margin.
- Record your trade rationale: include setup name, edge, alternative scenarios, and expected invalidation level.
- Use alerts to avoid screen-staring: price alerts for levels and session open/close reminders.
Practical tip: Try XM with a demo or live account to practice the exact workflow under realistic spreads and execution.
Daily checklist template with actions, timing and a place to tick/completed notes
| Task | Timing | Action Detail | Completed (Y/N) |
|---|---|---|---|
| Market News Check | 30–60 min before session | Scan economic calendar, major headlines, central bank notices | N |
| Session Volatility Assessment | 15–30 min before session | Identify expected volatility (Asian/European/US overlap) | N |
| Top-down Chart Scan | Daily → Hourly → 15m | Confirm trend, structure, key support/resistance | N |
| Set Alerts & Orders | Immediately before entry | Place stop-loss, take-profit, alerts, limit/market orders |
N |
| Journal Entries | Post-trade (within 1 hour) | Record rationale, screenshot, trade outcome, lessons | N |
Monthly Review and Iteration Plan
- Review metrics and behaviors monthly: win rate, average R:R, expectancy, most common mistakes.
- Set 1–2 measurable improvements (e.g., reduce average risk from 1.5% to
1.0%, or increase positive expectancy by 10%). - Design a demo-backtest cycle: implement changes in a demo account for 2–4 weeks, then backtest
50–100tagged trades. - Use peer review or a mentor to challenge your assumptions and validate edge persistence.
- When ready, deploy changes gradually in live sizing, not full allocation.
Consider HFM for tight spreads and execution when testing live adjustments. Also, compare forex brokers to ensure your execution and costs match the strategy’s needs.
Consistently applying this workflow makes trade decisions faster and cleaner, and the monthly iteration keeps the system adaptive rather than reactive. Understanding these practices helps you scale skill without adding unnecessary risk.
Conclusion
You’ve seen how price-action setups, trend confirmation with moving averages, and careful risk management combine to form a repeatable trading approach — for example, using a breakout plus volume confirmation turned small losses into steady gains in recent demo trades, and layering RSI divergence helped avoid false entries during choppy markets. If you’re still asking which indicators to trust or how to size positions, focus first on discipline: test a simple rule set, review outcomes, and build complexity only when your edge is consistent. Keep trade plans clear, risk small, and let indicators confirm rather than dictate.
When you’re ready to put this into practice, take the next step by pairing strategy with the right broker and guided learning. Compare forex brokers in south africa to find a platform that matches your trading style, then deepen your skills with our expert-led courses on the main site for structured, practical lessons and hands-on examples: https://randfx.co.za/. This combination will help you trade more confidently and consistently.